|
Prior to drilling the wing skins, the skeleton must be squared. The method the factory uses (and recommends) is very easy, and accurate. It begins by fabricating a brace to hold the ribs perpendicular to the spar. There are already bolt holes in suitable places, and the brace just uses those holes. (Pretty tricky, John!) Sonex has nice looking braces that they use for all their prototypes, but I just used some 1/8" extrusion scraps and clamped them together. This eliminated any tedious measuring to get the brace perfect. I simply adjusted the length as needed, then clamped it!
|

|
The next step is to make sure the wing is not twisted along its length. The wing ribs all have common tooling holes, which also happen to be in line with each other. If you drop a plumb bob from the top hole it should fall right over the bottom hole (assuming the wing is perfectly vertical). So, you simply shim each end on the sawhorse until this occurs. Then both the root end and tip end are perfectly vertical, and the wing is not twisted. (Once again, VERY tricky, John!)
|

|
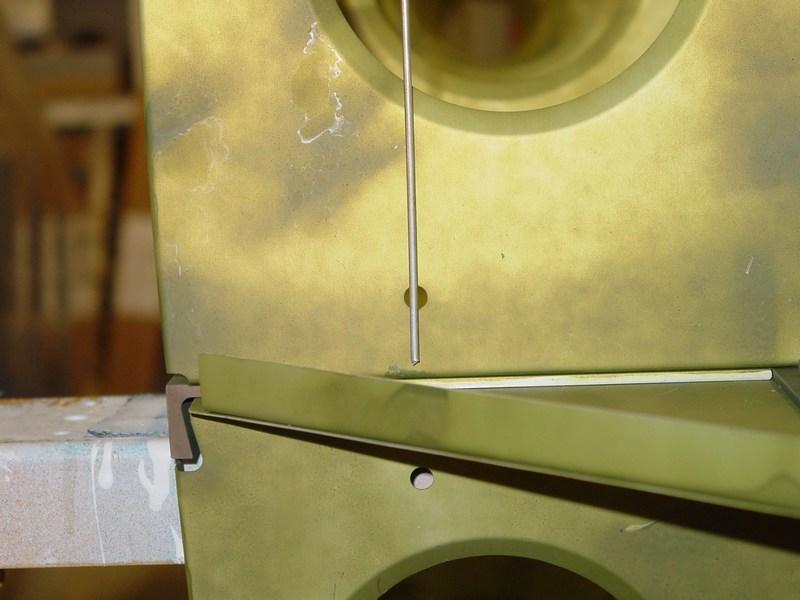
First attempt shows the wing not quite vertical. You can see the piano hinge wire I used for a plumb bob.
|

|
A 0.025" shim (plus one layer of tape) was required to align the tip end.
|

|
Looks good. Believe it or not, just one more/less layer of tape changed the plumb bob noticeably! It looks a bit off here, but it is merely the photo.
|

|
The same thing was done to the root end.
|

|
It required a bit of shimming as well.
|

|
With the wing now squared, I was ready to attach the top rear skin. It was first clamped on using the rear spar as a guide. Here is where the bow is taken right out of the main spar. Merely the pressure from the clamps was more than enough to hold the skin in place and level the main spar. (See, that bow really wasn't an issue!)
|

|
The aft edge was drilled and clecoed first, then the center rib moving back to front.
|

|
Still moving back to front along the center first, then outward.
|

|
More drilling and clecoing.
|

|
Top rear skin completely drilled and clecoed in place.
|

|
Next, the bottom aft skin is clamped in place. The same drilling and clecoing process will be used on this skin.
|

|
Drilling the skin to the aft spar. This really locks the skin in place.
|

|
Jeannette decided to do some drilling! Here, she helped drill the aft spar.
|

|
She did fine, but I think she did not find it nearly as much fun as I did!
|

|
The center of the skin was drilled first.
|

|
Then, the drilling and clecoing moved outwards towards the forward edges.
|

|
Finally, the aft skins are completely drilled and clecoed. I still need to attach the hinges to the aft spar, so until then, the holes will all remain at #40. The same goes for the main spar where the forward skin will overlap.
|