|
Here is where the wings started. After 4 months in storage, I finally got to unroll the main spar webs and retrieve the spar caps from their storage perch in the garage. Aside from some accumulated dust, they looked VERY nice! The machining is excellent. The spar caps consist of 4 6061-T6 aluminum extrusions, shaped with a custom (proprietary) "T" cross section. Each cap is slightly different. Sonex sells them fully finished and anodized. After looking these over closely, I have new respect for those early builders that had to cut the caps themselves. That would amount to over 90 ft of cuts, and then you would still need to file and dress the edges!
|

|
Assembly begins by stacking all 4 spar webs together is the proper fashion, then matching the web up to the caps.
|

|
Sonex now sells an alignment tool for the spar caps. The plans specify the exact spacing of the caps. These laser-cut spacers cleco right into the existing holes in the main web.
|

|
Then, the caps are simply pushed together so they are in contact with the alignment spacer. This sets the distance perfectly, and makes drilling the spar caps quick and easy.
|

|
I am about to drill the first hole in the spar cap. This felt like a big step. I certainly didn't want to mess up a $200 part!
|

|
Another shot of drilling the web to the caps. A 12" drill bit helps avoid dinging the spar cap flanges.
|

|
The web is first drilled to the caps with a #40 bit (like everything else), and later will be opened up to #21 diameter for solid rivets.
|

|
More cap drilling.
|

|
The wing tie down rings will anchor into these brackets, which in turn are bolted directly into the lower spar cap. If may look like there is a ridge under the bracket (from the cap), but it actually sits nearly flush. It is mostly an illusion.
|

|
The root end has 4 beefy angles that are attached. These are stiffeners on the top and bottom, and wing attachment block mounts on the ends. This part requires some care, as you align the angles on the top side, but drill form the bottom side using the existing pilot holes in the web.
|

|
It helps to have a second set of hands hold them in place while you drill them with a 12" bit.
|

|
With everything else already fitted to the spar, it was time to drill holes up to #21. There are a lot of holes it one spar. Let's do some math: 400+ holes in the web, drilled twice each (#40 and #21), debured top and bottom, equals lots of work!
|

|
I only bought one #21 bit, but this proved to be inadequate. By the time the first spar was drilled, the bit was pretty dull. I needed to order a second one.
|

|
The spar gets a variety of rivets and bolts, and keeping them straight required some organization. I color coded the holes based on what type of prep work it required: solid rivets needed no further prep, solid flush rivets needed dimpling and countersinking, AN3 bolts needed to be drilled up to 3/16", and AN525 flush head screws needed to be drilled up and countersinked slightly deeper than the rivets.
|

|
I spent quite a bit of time laying this out on the parts and re-checking it. I didn't want any errors in my spars. An extra countersink here of there is no big deal, but discovering a hole that wasn't countersunk with the spar already partially riveted would be a much bigger deal!
|

|
With the marking and drilling done, it was time to take everything apart and start deburing.
|

|
Even the kids got involved. I only wish they could each debur more than one hole before running off to play. I would have discovered an un-tapped resource!
|

|
To prevent over deburing the this main web (or countersinking it while deburing), I used a 1" diameter scotchbrite disk in my drill. It did a great job of knocking down the burs without hurting the web.
|

|
The center web is the thickest of all the webs, so it is countersunk and the thinner webs are merely dimpled into the countersink. The factory recommends just allowing the rivet itself to dimple the web when you set it, and I found this to work perfectly as well.
|

|
The root end of the lower cap gets a few holes countersunk into the spar cap itself. This will allow the two spars to mate together without hanging up on rivet heads.
|

|
The main webs do not include the tip sections, and they must be cut out from sheet stock. This will also serve as a brace for the tip rib.
|

|
Tip section primed.
|

|
The angle is attached to the web with pulled rivets, but the web itself gets solid rivets into the spar caps (like the rest of the main web).
|

|
The factory workshop introduced me to the "Big Bolt" method of setting solid rivets. In said method, you assemble a big (1/2" dia) hardware store bolt, a couple of nuts and a large washer (hand shield). The manufacturer’s marks are filed off the head, and then polished smooth. The rivet head is backed up with a bucking bar, the bolt is set on the tail. Then a calculated force is applied with a B.A.H. to set the rived. It takes about 4 whacks with a 4 lb hand sledge. Perfect, and very satisfying!
|

|
Close up of the modified bolt head.
|

|
This test piece was set up to test out flush rivets, and dimpling into the countersink. The flush rivets are set into the holes and held in place with tape. Then the bolt is set on the flush head and whacked.
|

|
This creates a prefect dimple. Next, the part is turned over so the head is on the bucking bar and the tail is whacked with the bolt.
|

|
This picture shows my countersink depth/diameter test. I dilled and countersunk three holes. Each hole was countersinked a little deeper. This depth correlated to the diameter, and that was marked next to each hole. I found that anywhere from 1/4" to 3/8" diameter countersink would work, although the smaller holes were ever-so-slightly raised up from the surface. Conclusion: countersink diameter is not as critical as I thought it would be.
|

|
It is surprisingly easy to make nice, consistent rivets.
|

|
After completing all drilling, countersinking, and deburing operations, I took everything apart to prime. The individual pieces were first etched in Alumiprep to clean the surface and help the primer adhere to the metal.
|

|
Each web and angle was immersed in the acid batch a about 2 minutes. The acid really cleans the metal up.. All my ink marks and most of the surface blemished were removed. It looked very nice coming out!
|

|
The parts are rinsed well to remove all traces of acid. You need to pay particular attention to the rivet holes, as they like to hold acid in them. If the water sheets off the surface without creating bubbles, it is clean.
|

|
The parts are then left to dry. If there is any moisture left on the surface, it will show itself as soon as the primer hits the surface. The primer will float off the aluminum and leave a gap in coverage.
|

|
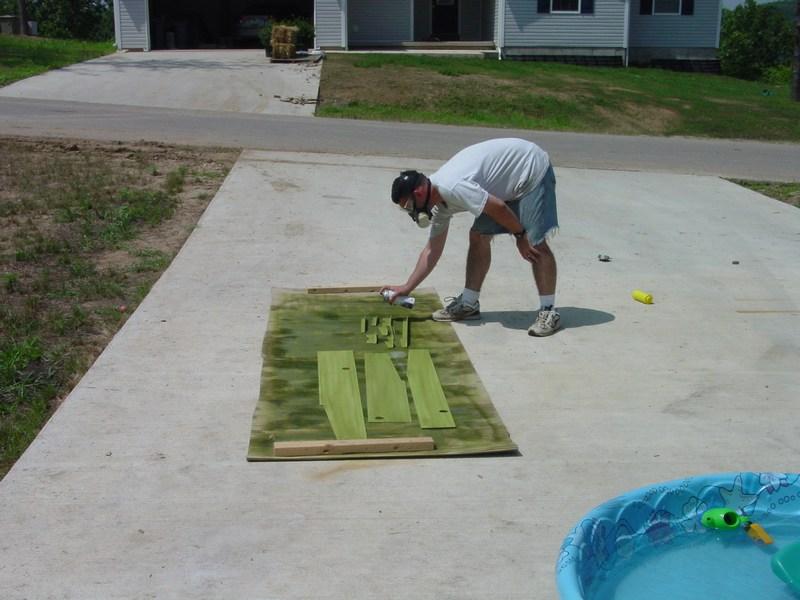
Parts laid out on the drop cloth.
|

|
The parts are then given an even but light coat of primer. The zinc oxide primer doesn't have to go on thick to work.
|