|
A new Sonex builder recently emailed me and asked for any tips I had on building. "Yeah, sure. My website is full of them" I thought. But I guess that's the problem with builder logs and websites. The good stuff is buried within. Before I started building, I hit every Sonex website I could find for information, hints, and tips. Anything that struck me as important I copied into a separate document. I later sorted all those tips into major sections (wings, fuselage, tail, etc) and then pretty much forgot about them. I think it was useful to have read them before building, but at the time, I didn't know what was important, and what wasn't. The problem was that the person assembling the list of tips (me!) had never built a Sonex. As I look back at my list, I've got a different perspective on what should really be on there.
Having finished my plane, I'm now in a much better position to assemble a list of tips. The information below is my list of Sonex Building Tips.
Really Useful Tools:
There are "essential tools", or the ones you need to do the job (like a screwdriver for turning screws), and then there are "really useful tools". My list of "really useful tools" are the ones that I used all the time, and that really made my build easier.
- Unibits #1 & #20
- Together, you can easily drill up to 1" diameter holes, which is most of them. Don't get fooled by the more common ones that stop short of 1".
- General Tools 6" Layout Ruler
- Most of the dimensions are small, and this tool is durable, easy to read, and used every day.
- 6" Half Round File, fine cut
- Used daily for finishing edges on just about everything.
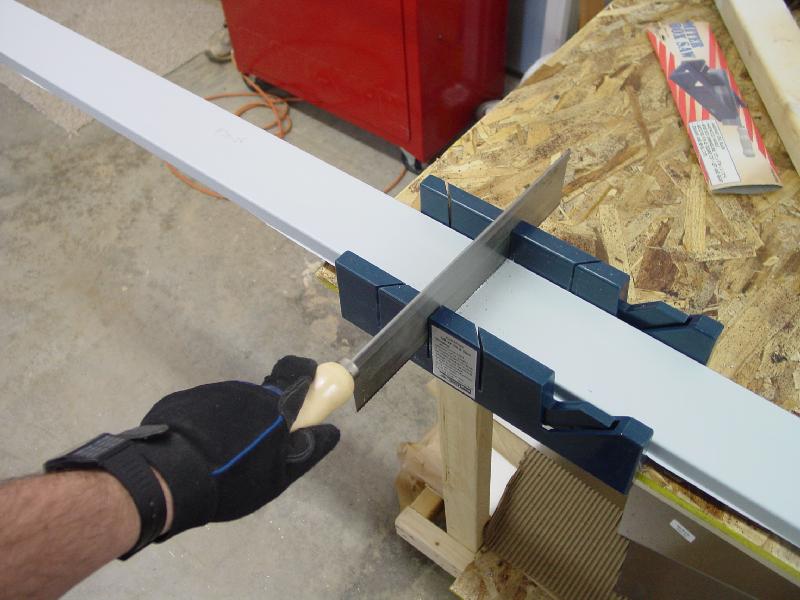
- Hand Miter Saw and Box
- This tool costs about $10 from Harbor Freight, but makes perfect cuts in chanel stock and almost no waste. The cut edge had no distortion from shears, and requires very little dressing.
- Aluminum Yardstick
- I bought two of these at Harbor Freight. The edge is straight, which is useful for a bunch of things, plus they make a fantastic piano hinge drilling jig. Start the first hole 1/4" from the short edge, set back ??" from the long edge. Continue drilling a hole every inch (1/4", 1 1/4", 2 1/4", etc). This allows you to set the yardstick on a length of piano hinge half, snug it up to the hinge loops, and drill the holes with perfect spacing and edge distance. Best part - you only have to drill perfectly straight holes once!
- 12" Drill Bits
- Get at least two in #40 and #30 - They work for just about everything. Got a tight drilling situation, chances are the 12" bit will do it. They can ALMOST (not quite though) be made to turn a 90 degree corner! If you don't want to spend $50-$100 on a cool snake drill, spend $10 on some 12" bits instead! Use them with a $30 Harbor Freight pneumatic angle drill for even better results.
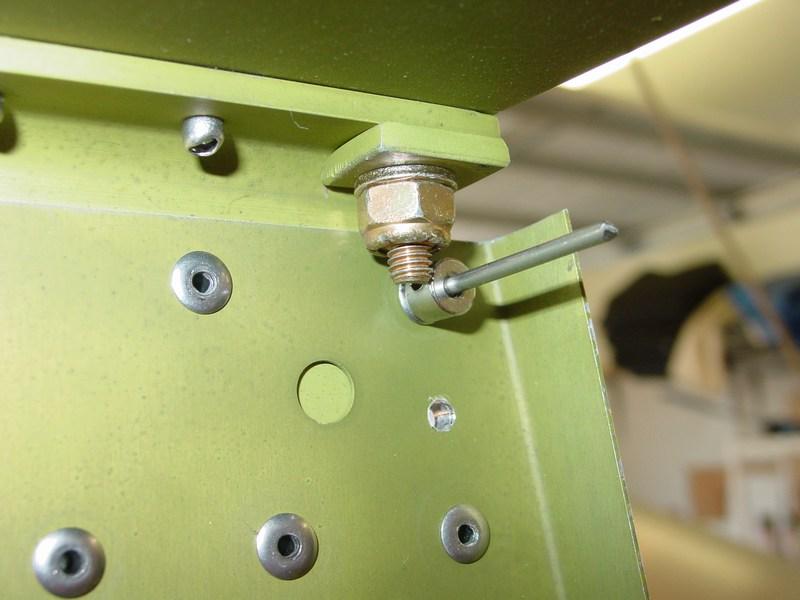
- R/C Wheel Collar
- There are lots of places you will not be able to place the rivet gun onto the rivet perpendicular to the surface. If you pull the rivet anyway, it will be permanently angled, which is no good. The simplest solution is to slip a small wheel collar (used to hold on Radio Control airplane wheels) over the rivet stem before inserting the rivet into the gun. Now bend the stem 10-20 degrees over to one side, leaving the wheel colar sitting flat against the rivet. The bend will get the rivet in straight, and the collar will allow the gun to pull it properly. It works well for rivet that interfere with the surrounding structure.
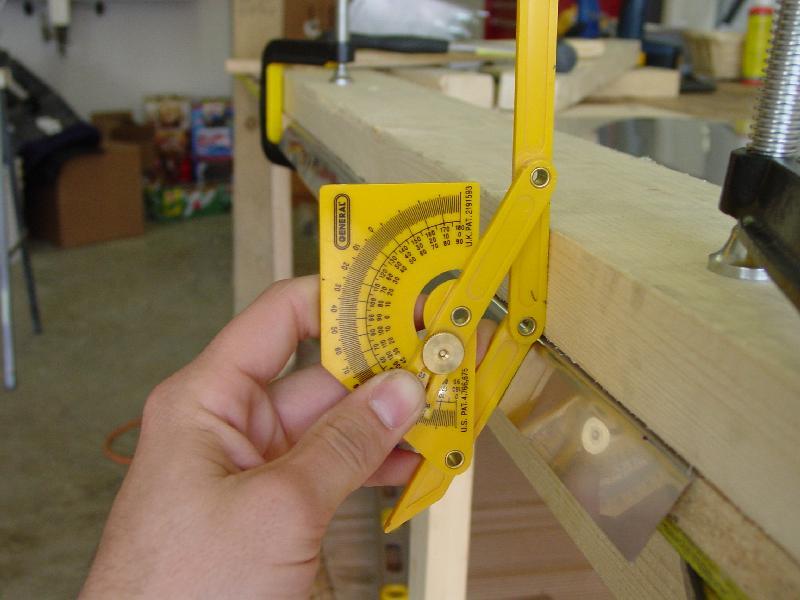
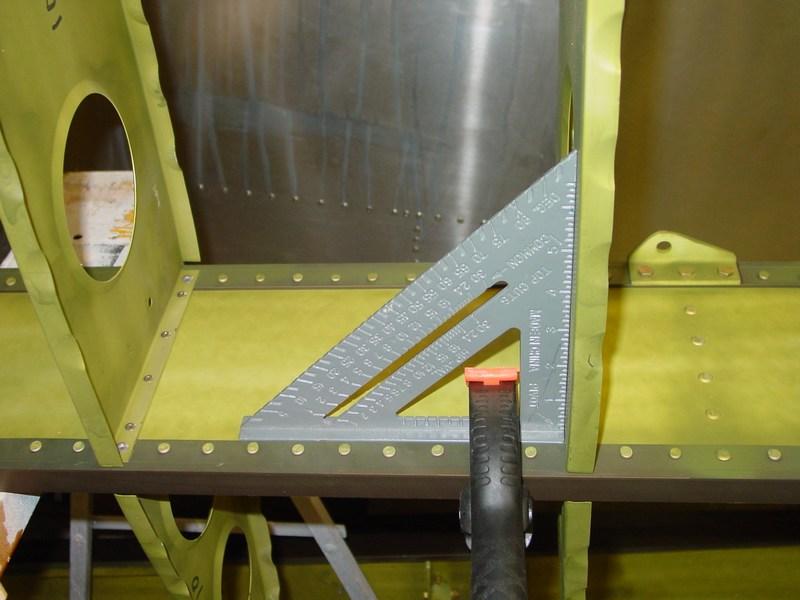
- General Tools Plastic Protractor (Lowes Item # 186519)
- You'll need to bend flanges to specific angles throughout the airplane, and this protractor is very useful for this. The best part is that it can get into the flange nice and tight to transfer or check dimensions. It also works nicely as a carpenter square.
Construction Practices:
-
Drill hinges with both halves attached to prevent binding.
-
Bending Brake - use scrap .025 and .032 to increase the bend radius. This saves tons of head scratching on setting up the bending brake for appropriate bend radii.
-
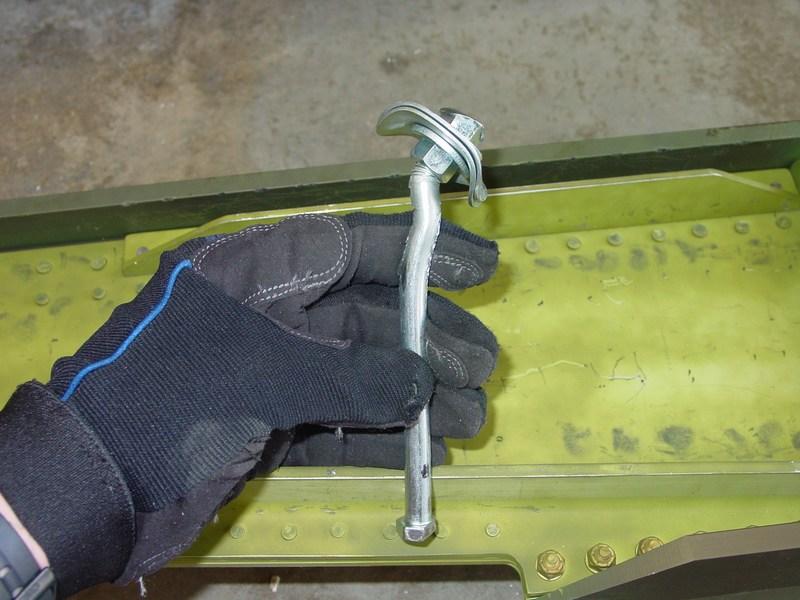
Wear shop gloves when handling parts. Get a light, flexible pair from Home Depot or Lowes (e.g. Mechanix brand gloves). This saves your fingers from rough edges, scotchbrite pads, the belt sander, and nasty cuts! Be sure not to wear them if there's a possibility of getting them snagged in a power tool (band saw).
-
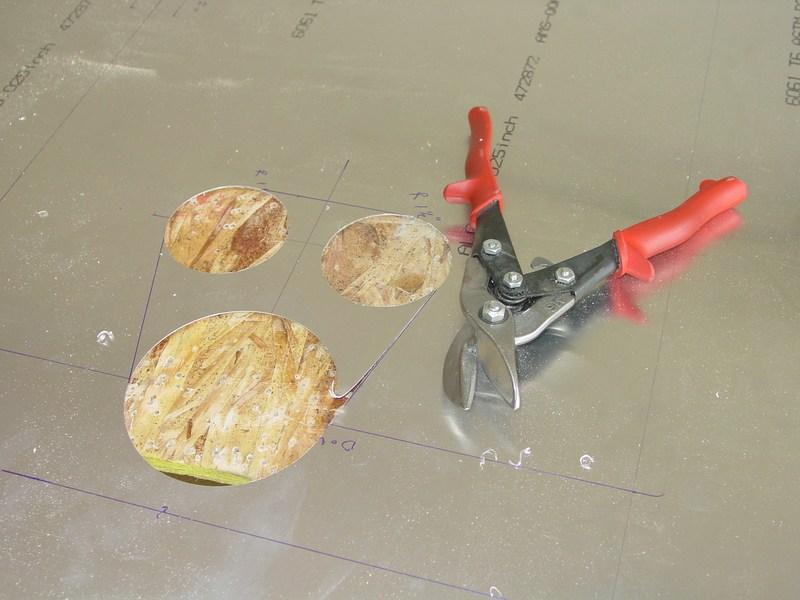
To make larger cutouts in metal (e.g. the seat pan, rear spar for the aileron counterweights), use unibits to drill the corners, then remove the interior metal by cutting from hole to hole. Use a nibbler, offset snips, or dremel tool and cutoff wheel. Dress the edges with a small half-round file.
-
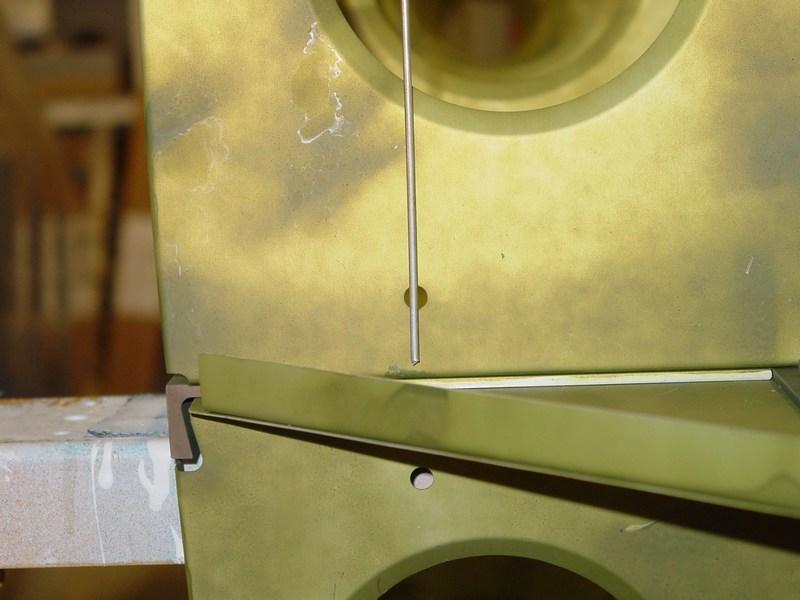
It really is OK to use a wood-cutting bandsaw blade (6 TPI) to cut aluminum! Lube the blade with candle wax or Boelube before each cut.
Wings:
-
When riveting the main spars, the bucking bar absolutely must be on the floor. If your workbench can't support the weight of a minivan, it's probably going to flex, and that will hinder setting the solid rivets.
-
Make two smaller diameter bolts. When the first one bends, toss it in the trash and use the second one. Once the metal yields, you'll be straightening repeatedly.
-
Don't worry about the spars bowing. They'll straighten right out when you skin the wings.
-
A rat-tail file work well to clearance. the wing ribs for the spar flange.
-
Fit the wing ribs to the main spar with the spar suspended on saw horses. Let gravity work for you, not against you! This works well for skinning the wings as well.
-
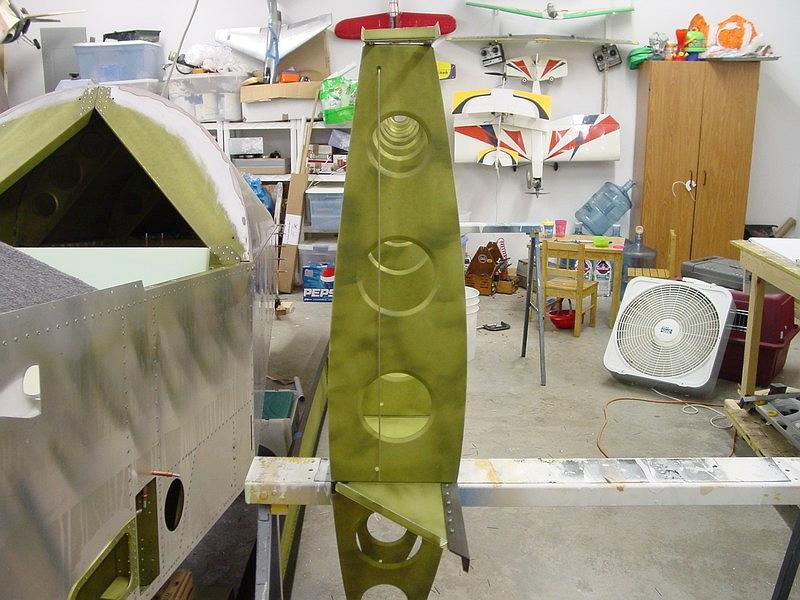
Square the wing ribs first, then make a brace to hold the ribs square.
-
Run a plumb bob from the rib tooling holes to ensure the wing is perfectly vertical. Shim the spar as required to make the plumb bob line up.
-
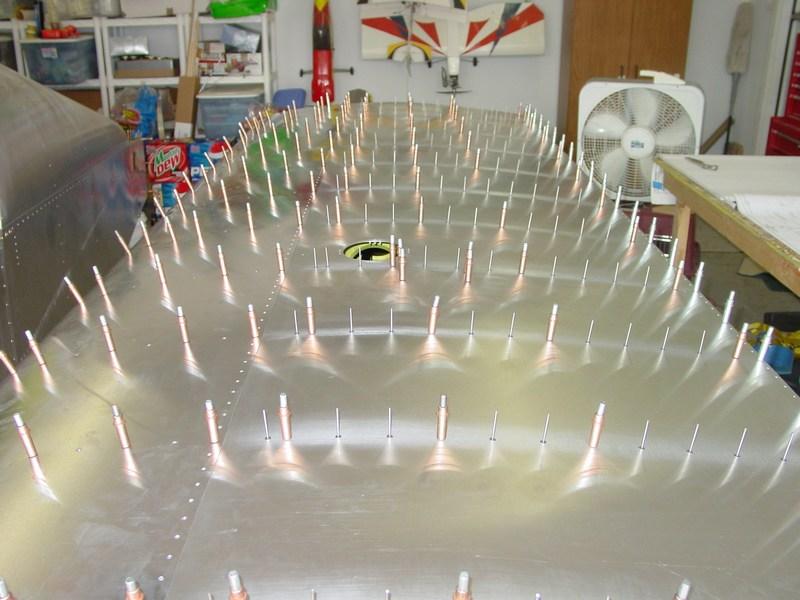
Drill the aft wing skin to the rear spar first, then back to front along the middle of the wing, moving outward and forward towards each end.
-
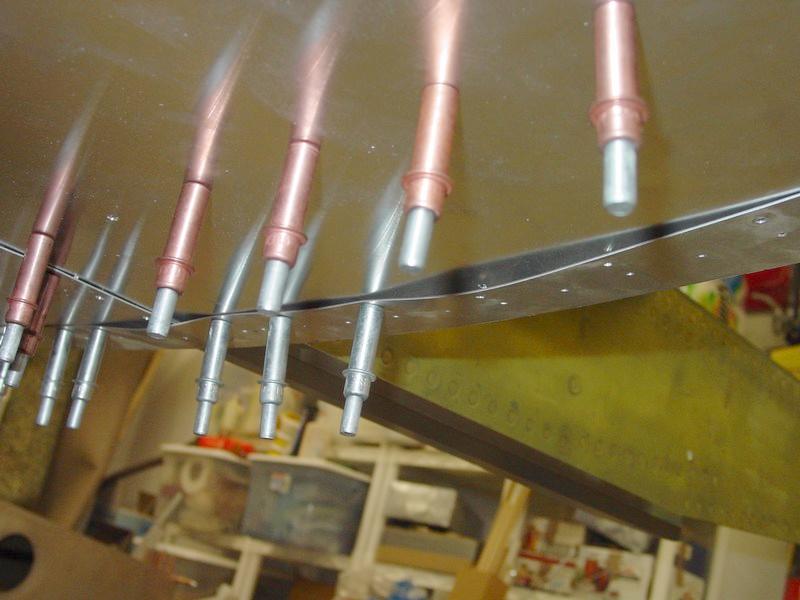
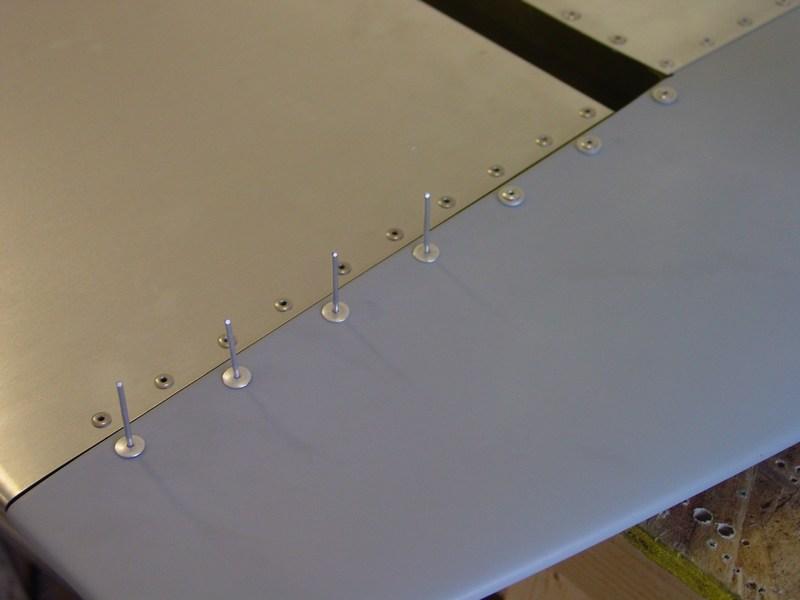
Use ratchet straps and boards to pull the leading edge skin into position. Drill and cleco the leading edge skin tucked underneath the aft skin, but rivet with the leading edge skin on top of the aft skin.
-
When fitting and riveting the root rib, leave out the #1 rib to free up a little more space. The ribs are tightly spaced near the root, and the #1 rib interferes with riveting the root rib. Once the root rib is riveted in place, then go back and rivet the #1 rib.
-
If the wing root doublers don't seem to fit very well, you may have them on upside down. They are not symmetrical!
-
The cutout in the rear wing spar for the aileron counterweight can be increased slightly (+1/32") to eliminate any binding. Since the cutout is way out on the tip of the wing, the loads are small and the slight loss of strength has no adverse effect.
Tail:
-
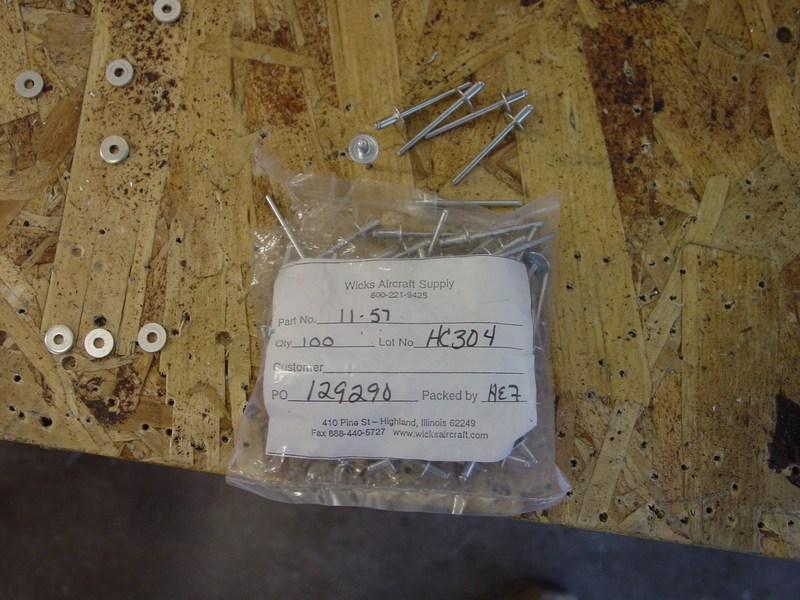
Use large diameter finishing rivets to attach the fiberglass tail tips. This spreads the load over a larger area and helps prevent the fiberglass from cracking.
-
Use a length of wood dowel to position the control surface ribs into the skins. Gentle pushing and tapping makes aligning the ribs easy.
-
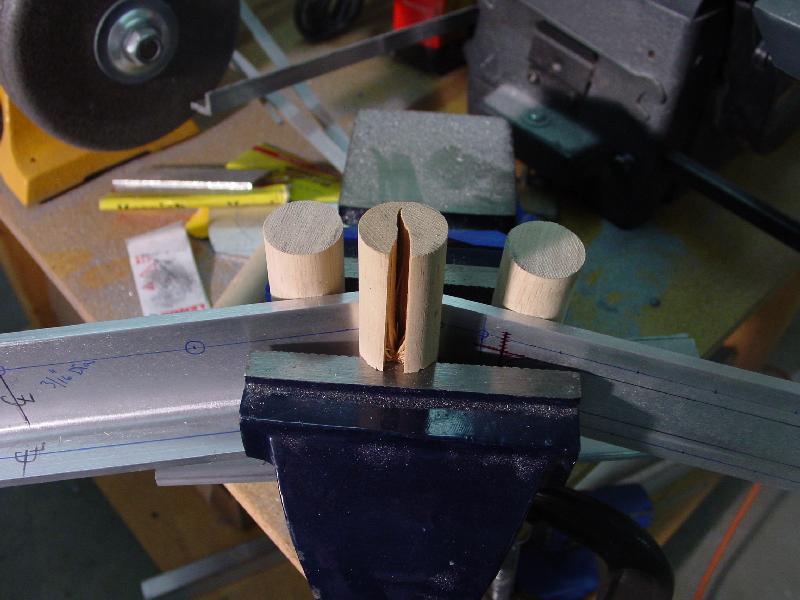
A pole brake is an extremely simple but effective method to bend the horizontal and vertical stab spars. There are other methods, but the 7/8" diameter dowel is cheap ($2) and available from the hardware store or even Walmart. Ensure the dowl is oriented with the grain parallel to the vise jaws or the dowl will split open.
Fuselage:
-
Mark the flange centerline of the turtledeck formers and wing/control surface ribs using a sharpie. This is essential for lining the ribs up to the pre-drilled skins.
-
Fabricate small spacers or shims to fit between the turtledeck formers and skin to eliminate dimples caused by riveting the turtledeck skin.
-
Don't rivet wing attach angles ahead of time. You'll need to remove the rear angle when rigging the wings, and it is very convenient to remove the front angle when working on and riveting the spar tunnel, especially the flush rivets on the inside of the tunnel.
-
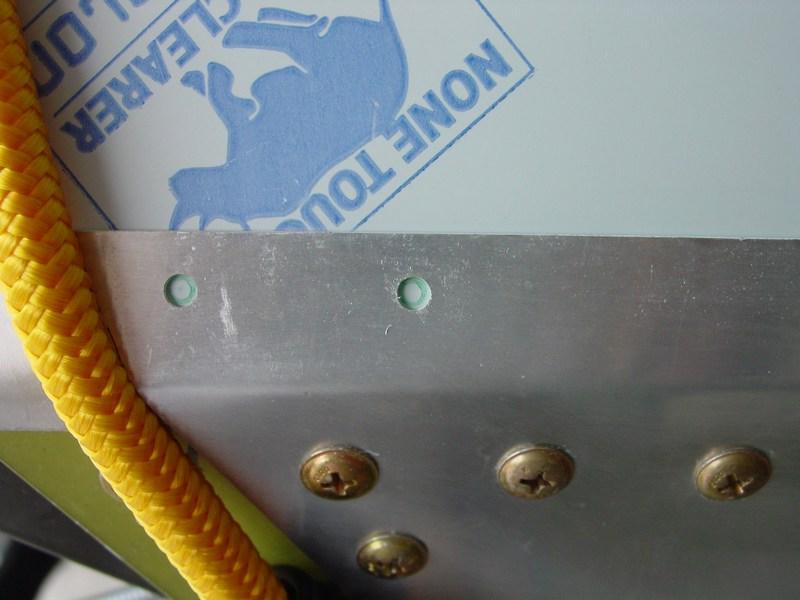
Consider using AN 525 screws to fasten the windscreen to the fuselage sides. The plans call for countersunk holes and flush screws, but AN525 screws are much easier to use, and it's not like they'll look out of place there, seeing as how the motor mount screws are also AN 525's and they're right only a few inches away.
Cockpit:
-
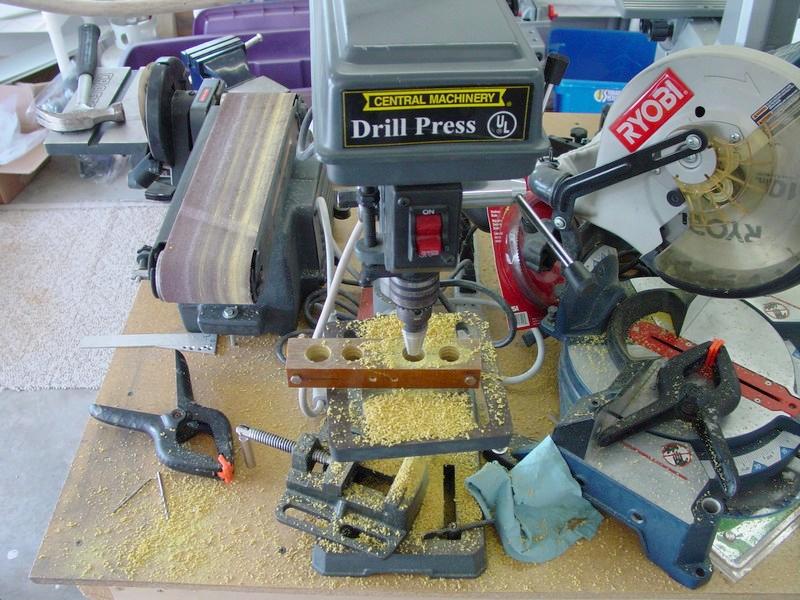
Use the unibits to drill the phenolic rudder pedal blocks (not wood spade bits). Using the unibit, there is no burning phenolic, no acrid phenolic smoke, and no pestilent stink in the air afterwards!
Firewall Forward:
-
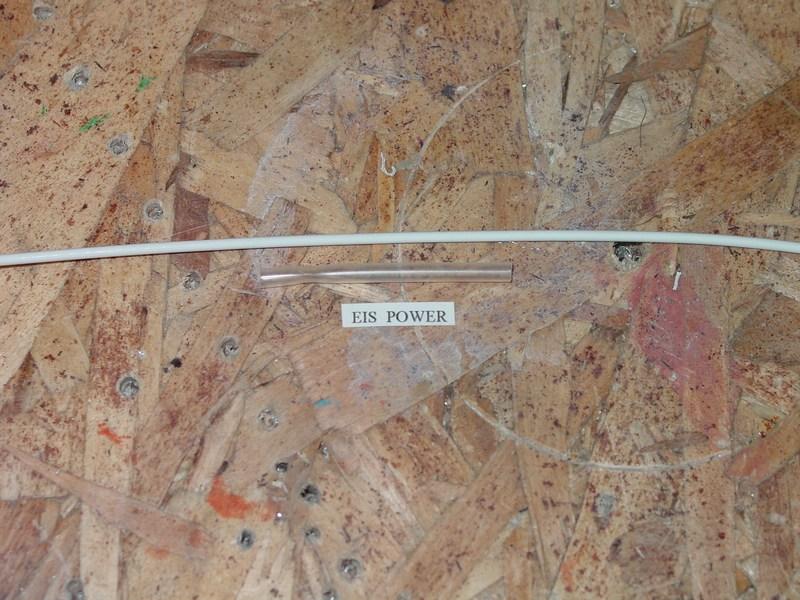
Label all wires with computer printed labels and clear heat shrink tubing.
-
The plans show various lengths of SouthCo fastener studs needed for the cowling. My cowling needed really long studs: 260, 280. and 300. These are not commonly stocked by Spruce or Wicks, but D&D Aircraft Supply has them. The longer studs make fitting the cowl a lot easier.
-
If the cowling hinge pins are just way too tight, you can ream the hinges out, or replace the hinge pins with slightly smaller diameter pins. Radio control model shops carry various diameters of high quality music wire. Select a size slightly smaller than the hinge pin for easy cowl hinges.
|