|
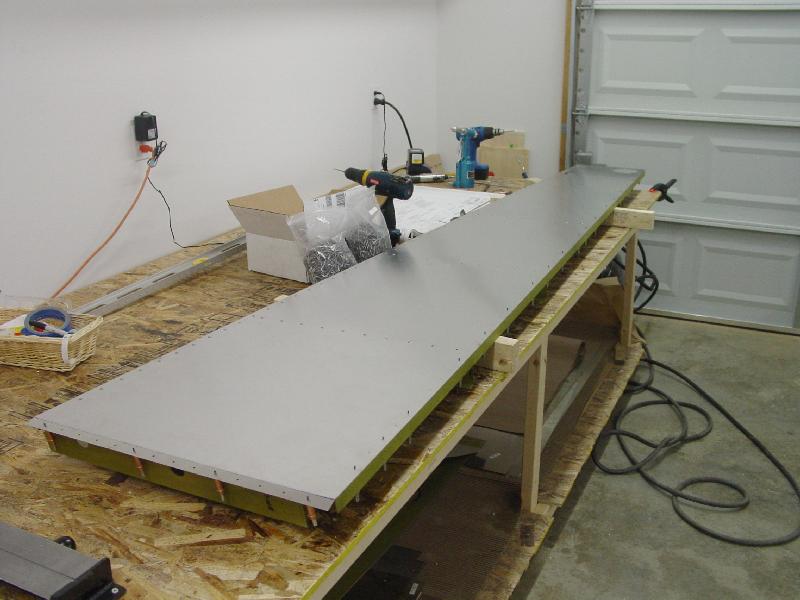
The longerons were fabricated prior to this point. However, they are very simple (just long!). The first step was to drill them to the skin. This is one great things about the pre-punched holes. You just line everything up and start drilling. It saves a ton of layout time.
|

|
Side panel riveted up.
|

|
The vertical stiffner chanels are also riveted in place.
|

|
The elevator bellcrank is assembled with two set of bushings. To get the fit just right, I made up a dowel-sandpaper hone. I couldn't initially get the bushings to spin in each other very freely, so I used a 3 inch length of 3/16" dowel, a strip of 300 grit wet or dry sandpaper, and some air tool oil to free things up a bit. I worked very well, and now things are smooth and slop free.
|

|
The splice plates connect the forward and aft fuselage sections. They will eventually bolt directly into the fuselage longerons.
|

|
The next thing I did was to draw some reference lines on my workbench top. Then the sides could be aligned so they were square and symmetrical about the aft box centerline. I used two large squares clecoed together to set the 40" width in the front.
|

|
Then the aft ends were aligned and set to 2.5 inches wide.
|

|
At this point I had my first passenger inside my fuselage!
|

|
I then added the fuselage cross ties and got things all lined up.
|

|
Here is when I started to make a big mistake. You can see from this photo that the fuselage is not upside down on the table (it should be for this part!) I couldn't figure out why things wouldn't quite go into alignment. Once I turned the fuselage upside down, everything went together properly.
|

|
|

|
When the cross ties were drilled and clecoed, the lower skin was set in place. What a relief to see it fit perfectly!
|

|
Looking back into the aft box. Cross ties clecoed and lower skin set in place.
|

|
Starting to look like a fuselage!
|

|
The lower skin was then drilled and clecoed in place.
|

|
The cross tie box is only riveted on the top initially.
|

|
This allows access to the splice plate bolts and nuts.
|

|
Once the bolts are in place, the bottom can be riveted in place.
|
|
|
All cross ties now in place.
|

|
Here was an area I screwed up a bit. The web comes in the kit with pilot holes already in place. However, The fuse must first be squared up before attaching the web to the longerons. Any misalignment will be locked in when the web is drilled to the fuselage. So, I waited until the cross ties and bottom skin were finished, and then drilled the web from the longeron side, rather than using the pilot holes. Anyay, the holes didn't match up, and I have some extra holes now in the web as a result.
|

|
The rear-most fuselage bulkhead was a real challenge to rivet. There just was no room to get my rivet gun in there, so I had to use the hand squeezer. It was a very tight fit to say the least!
|

|
I decided to go ahead an set in the access hole covers. They each get anchor nuts (MS21047-L08K Anchor Nut, Two Lug) and 3/32" flush rivets.
|

|
The Wicks hardware kit, however, didn't contail the right kind of screws for the anchor nuts. I had to order some extra AN525-8R5 (5/16") and AN525-8R6 (3/8") to use on the covers.
|

|
I thought I'd throw in a picture of my specialized cleco container. The handle makes it work very well, and the pliers fit right doen into the top for easy storage.
|

|
My son Isaac "helping" me with some clamps....
|